
Following my recent post “Summer Ready: The Beauty Products and Routines I Use”, I received several messages asking if I could provide a more detailed step-by-step guide on how I tint my eyebrows and eyelashes.
I am no expert at eyebrow and eyelash tinting. So, the following is simply what works for me. And, as I said in my ‘Summer Ready’ post, I have had my fair share of allergic reactions. Accordingly, I find it is always better to be cautious when applying anything such as an eyelash/brow tint in this sensitive area. So, here goes:
I usually do the procedure, outlined below, every five to six weeks. As with most things, this procedure is all about preparation. Whatever dye you use, always do a patch test 48 hours before using.
We have all seen the horror pics where some poor individual has had an allergic reaction because they have failed to do a patch test, first. I would recommend doing this even if it is a product you use, regularly, because allergic reactions can occur after previous trouble-free use. I do this, regularly, as a tube of Ellison’s tint can last me over six months. So, whenever I re-stock, I do another patch test, just in case.
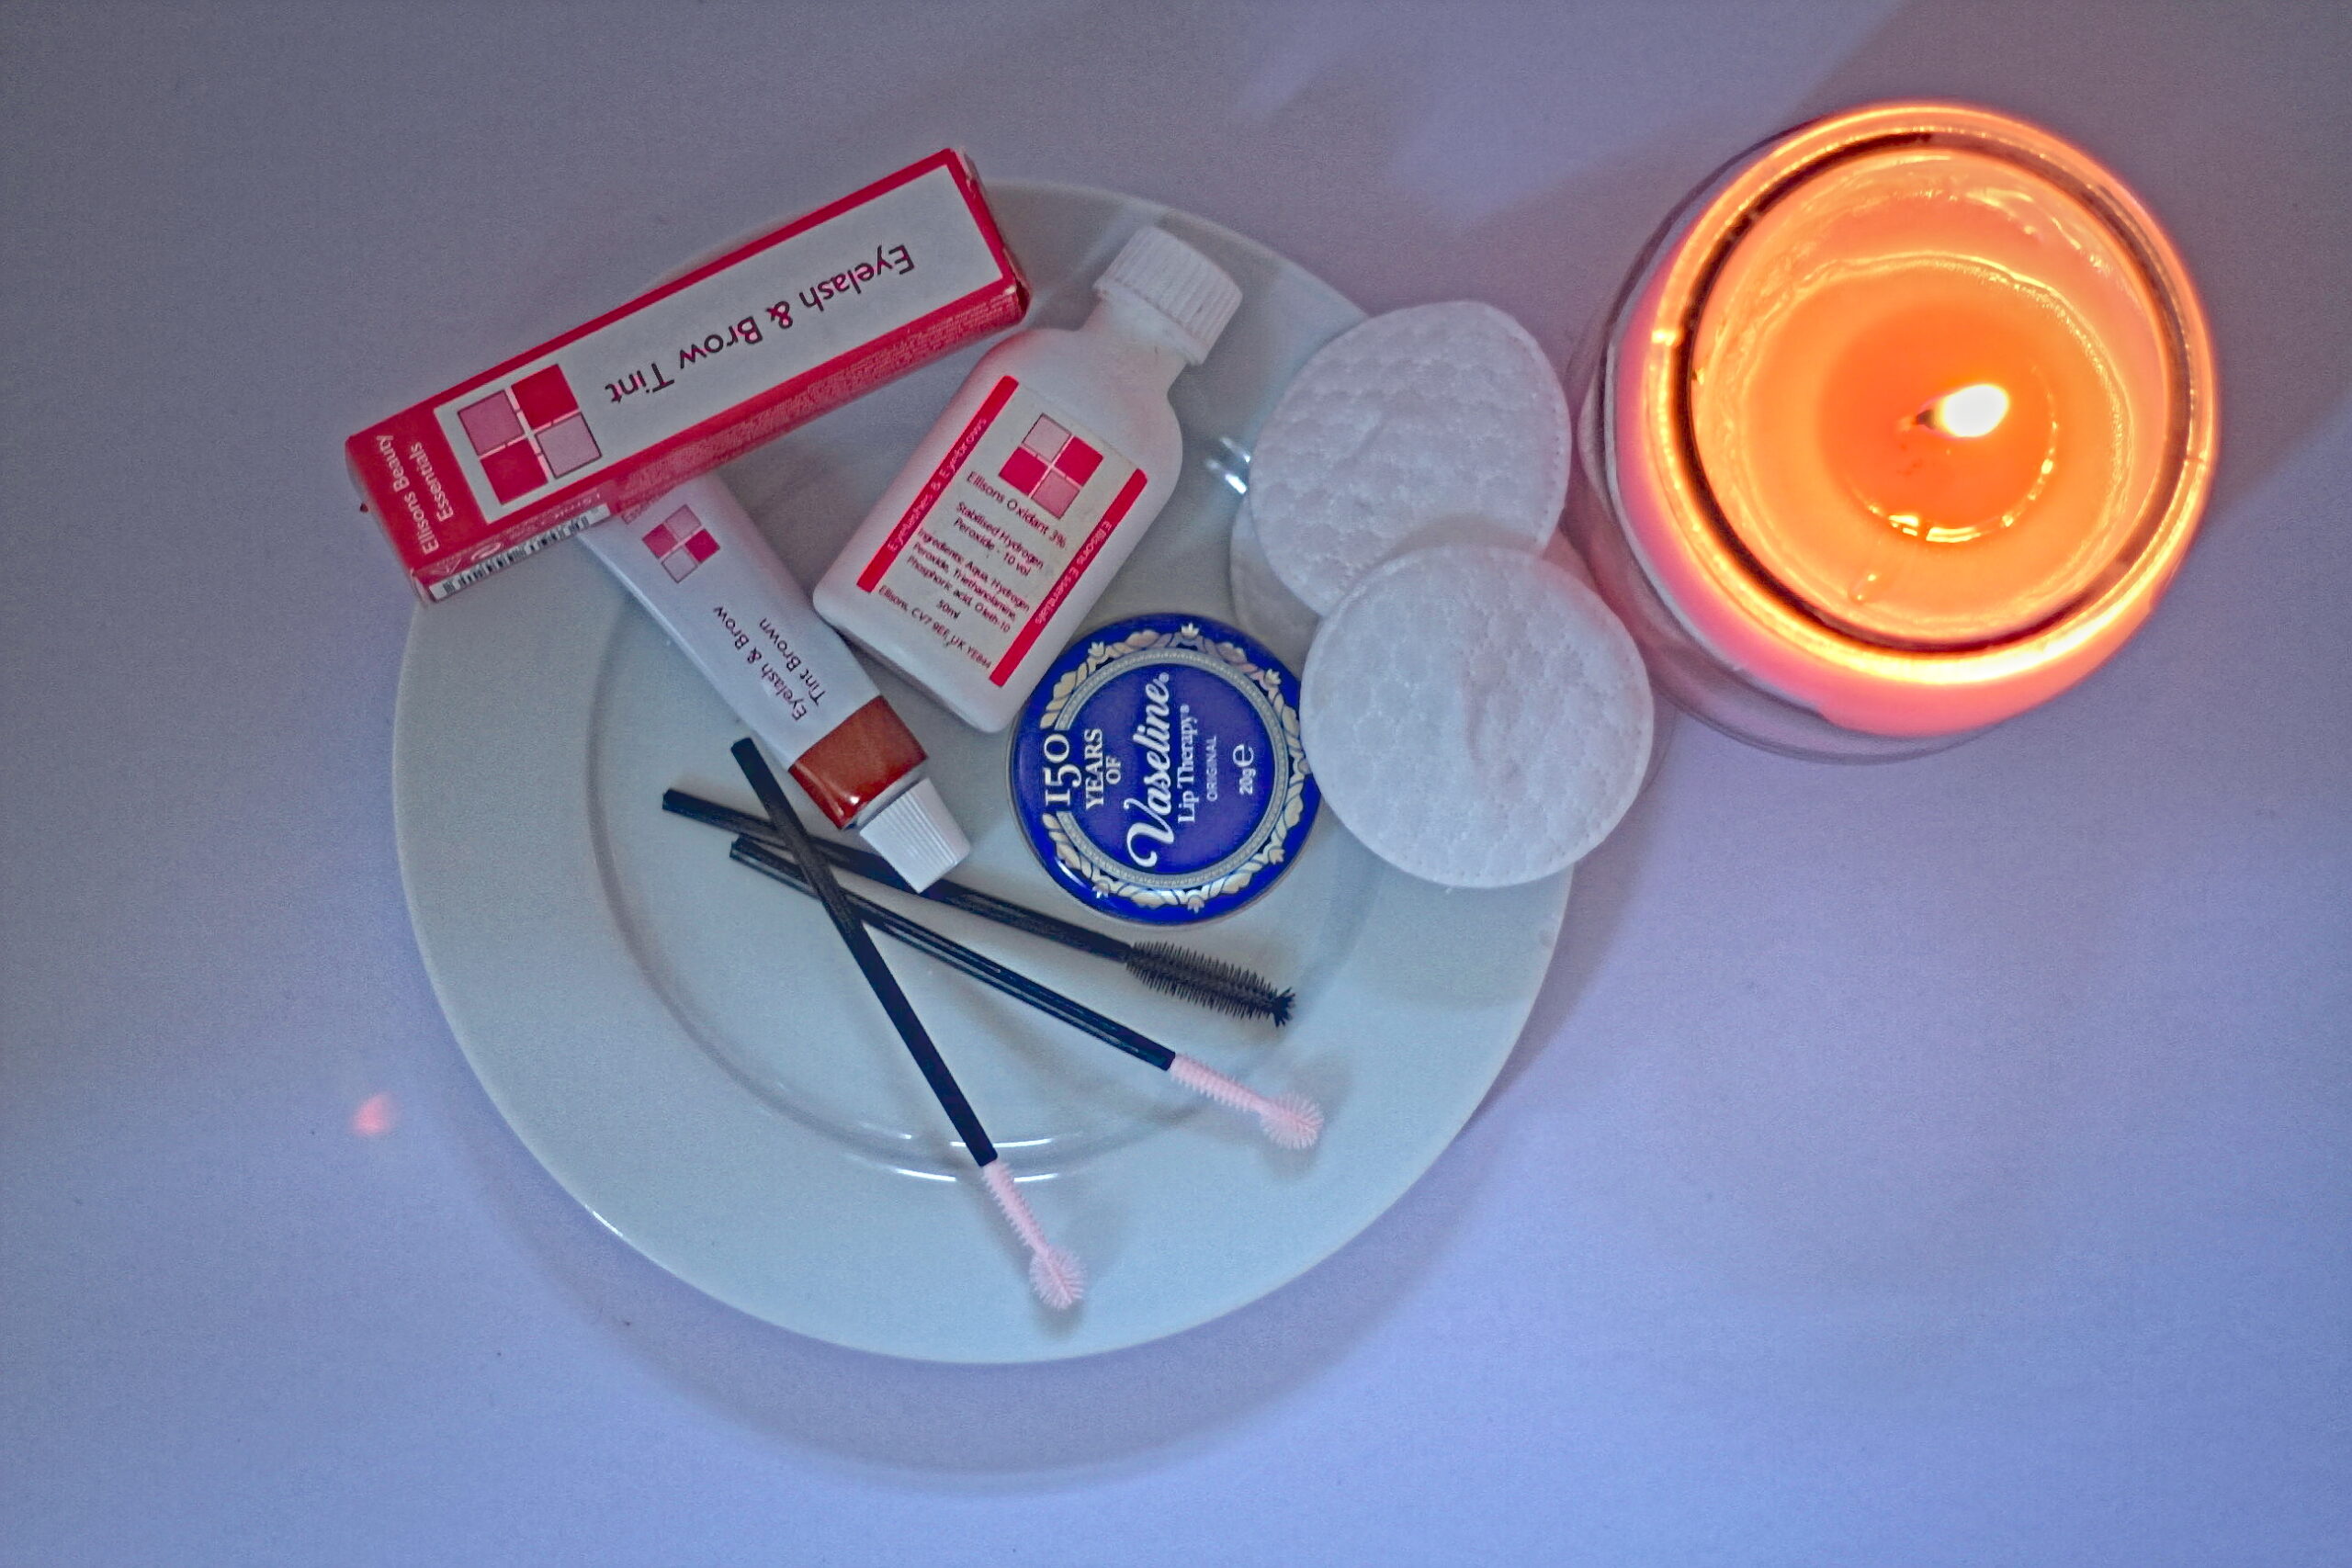
The shade I love from Ellison’s is ‘brown’ which is perfect for my colouring. I prefer a cool tone – it particularly works for me.
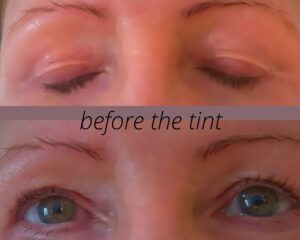
Before
Here is my easy step-by-step guide:
-
To begin the process, I make sure I have removed all of my makeup and cleansed thoroughly because the residue left from makeup can prevent the dye from working as well.
-
As a barrier, and to stop the tint staining the skin around my brows and lashes, I use petroleum jelly (Vaseline). I apply it with a cotton bud around my brows and lashes, making sure not to go into the brow and eyelash hairs – applying it on my eyelid and under my eye area;
-
-
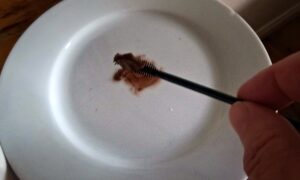
To apply the tint, I use either an old mascara wand or spoolie (see pic) together with a steady hand. I bend the wand of the spoolie to a 90-degree angle. This makes the application a lot easier and less messy – giving me more control when applying the product and making the dye less likely to get on my hands;
-
I start with my brows, making sure all the hairs are coated by the tint. I then move on to my lashes, brushing the product thoroughly on both sides, under and on top of the lashes – wiggling the wand slightly to get more coverage, making sure the end of my lashes is covered in the tint.
-
Then, I grab my timer. I leave the tint on my eyebrows no longer than five minutes. I then give my lashes a few extra minutes. When the five minutes are up, I use a cotton pad to remove the tint from my eyebrows, avoiding my lashes, at this stage. After a few minutes, I gently clean away the tint from my lashes. I then gently clean the whole area around my eyes and brows until the tint is completely removed.
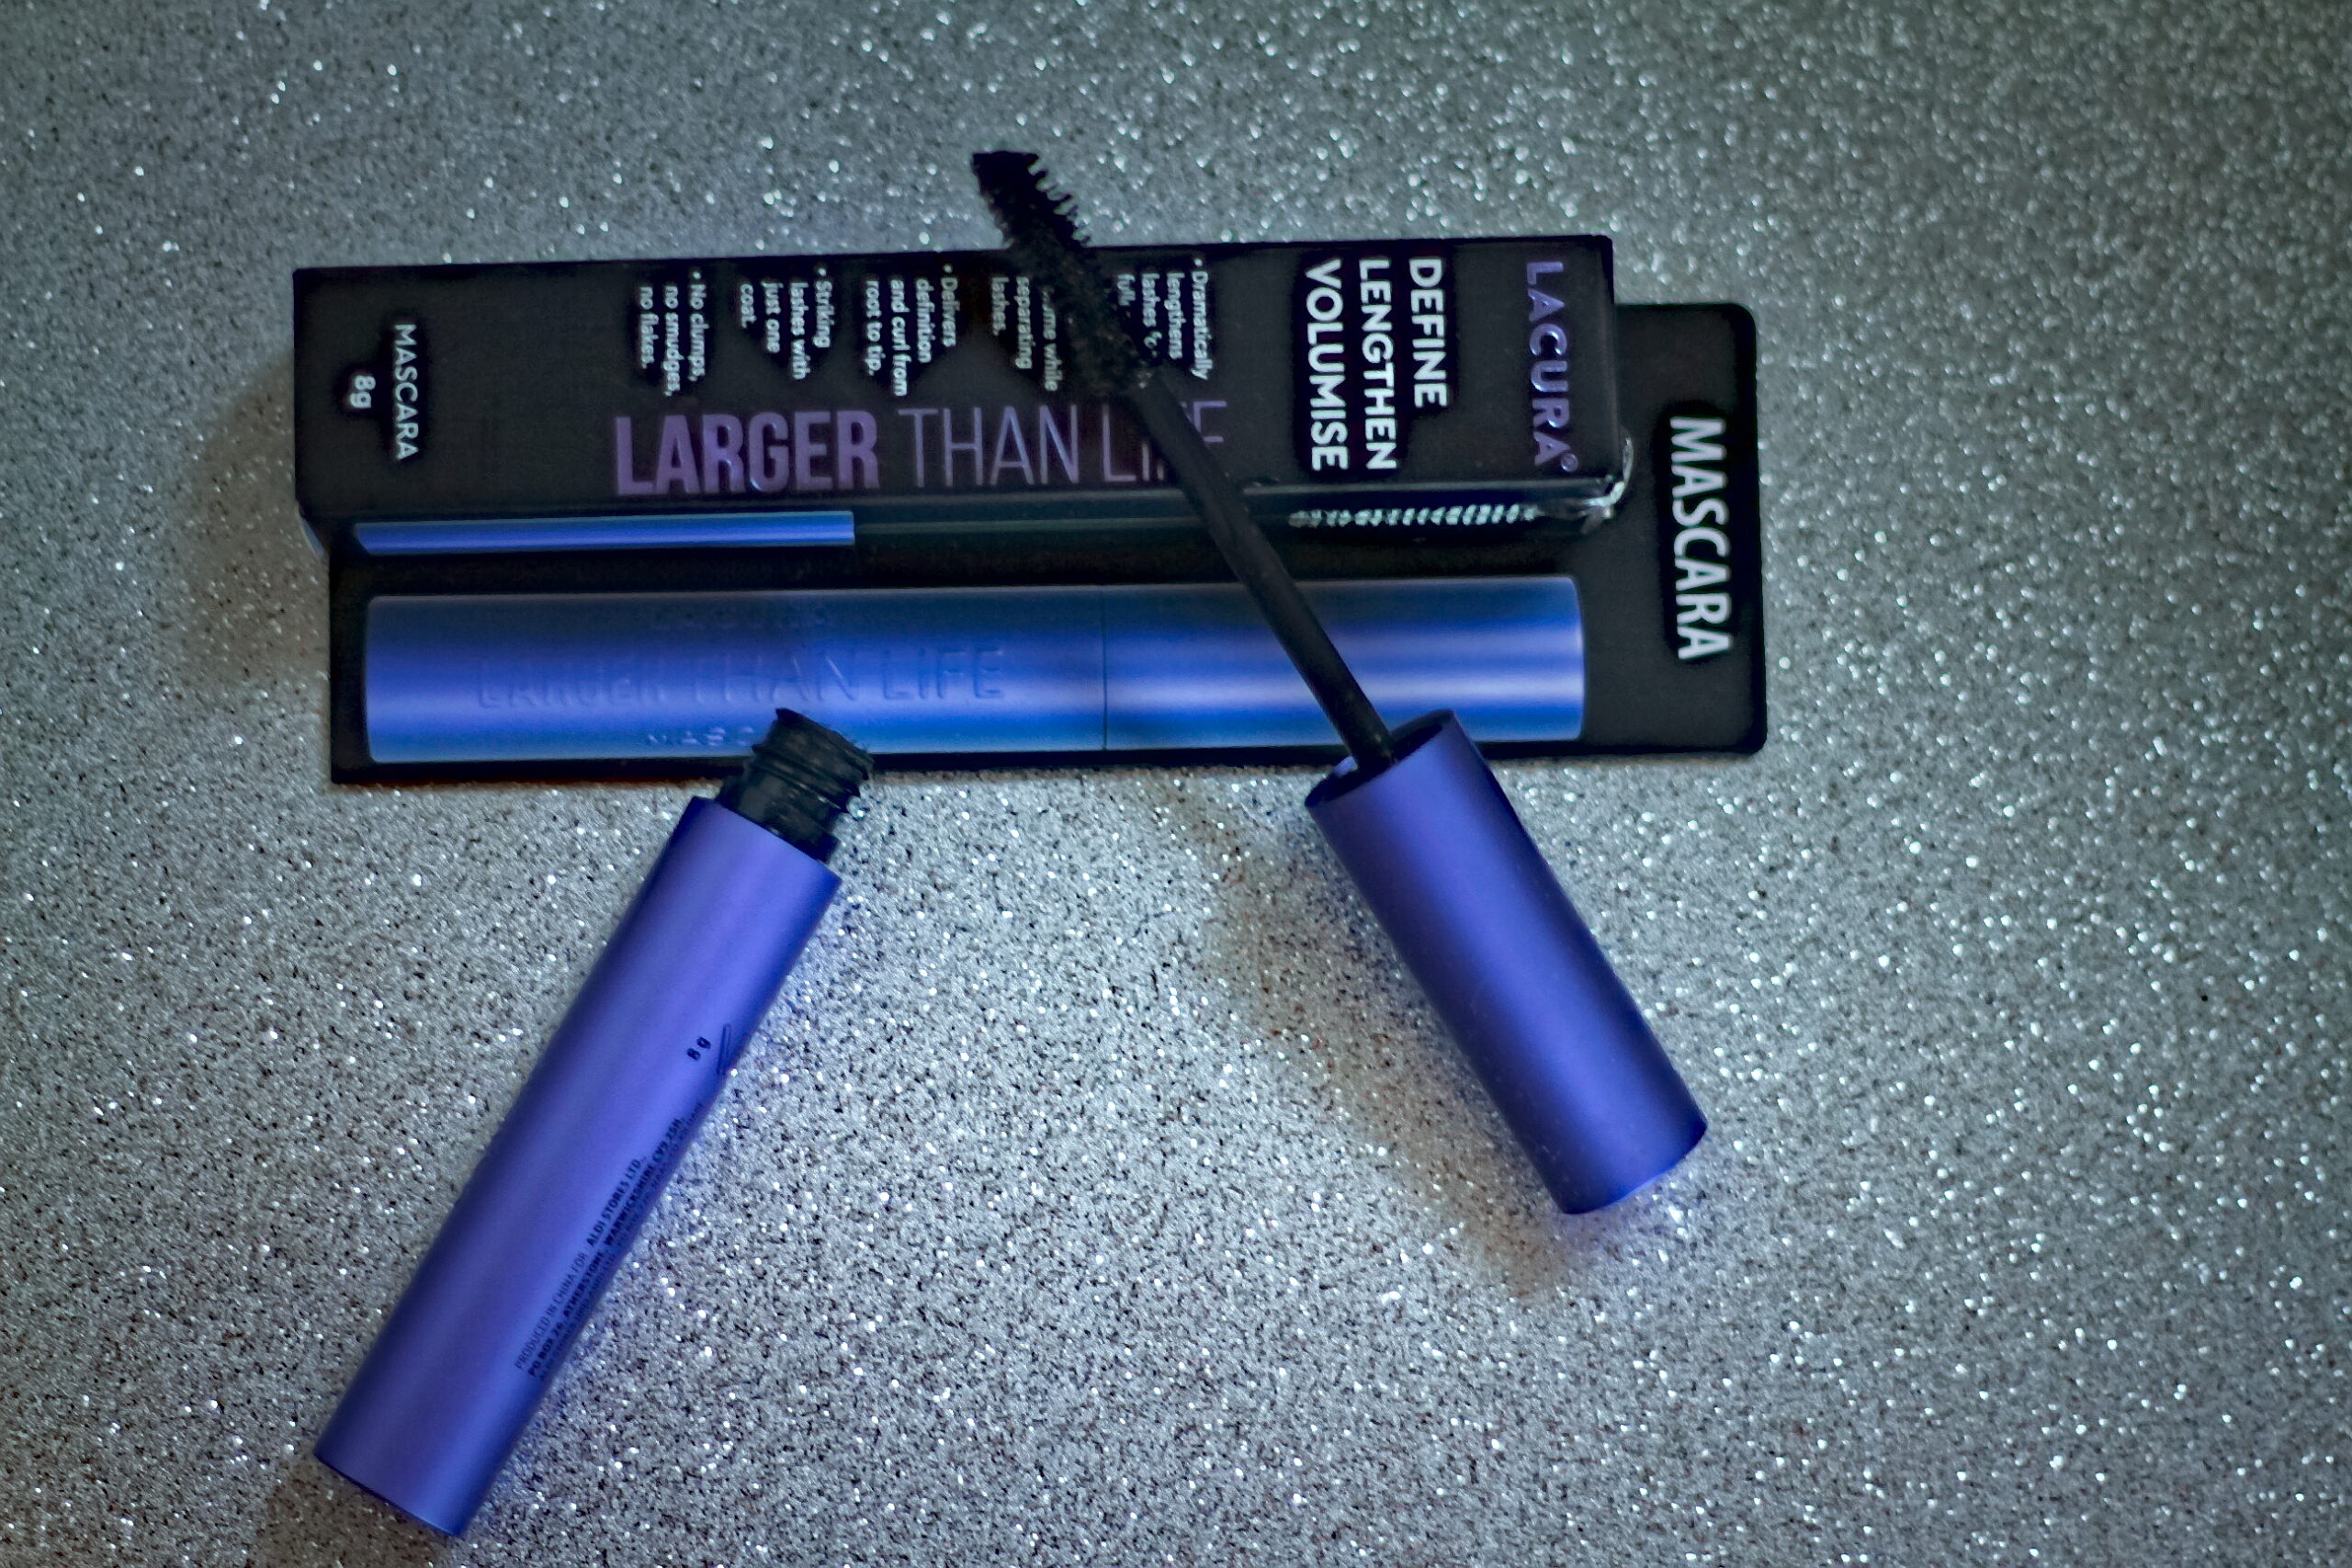
A Review of Aldi – Lacura Larger Than Life Mascara £5.99 (Cruelty-Free)
As we are talking all things lashes and brows, here are my thoughts on this new mascara I bought from Aldi. I have used Rimmel’s “Extra Super Lash Mascara” on and off, several years. It is inexpensive and does what it’s supposed to. By that, I mean, it doesn’t end up smudged all over my eyelids, lasts all day and isn’t difficult to remove.
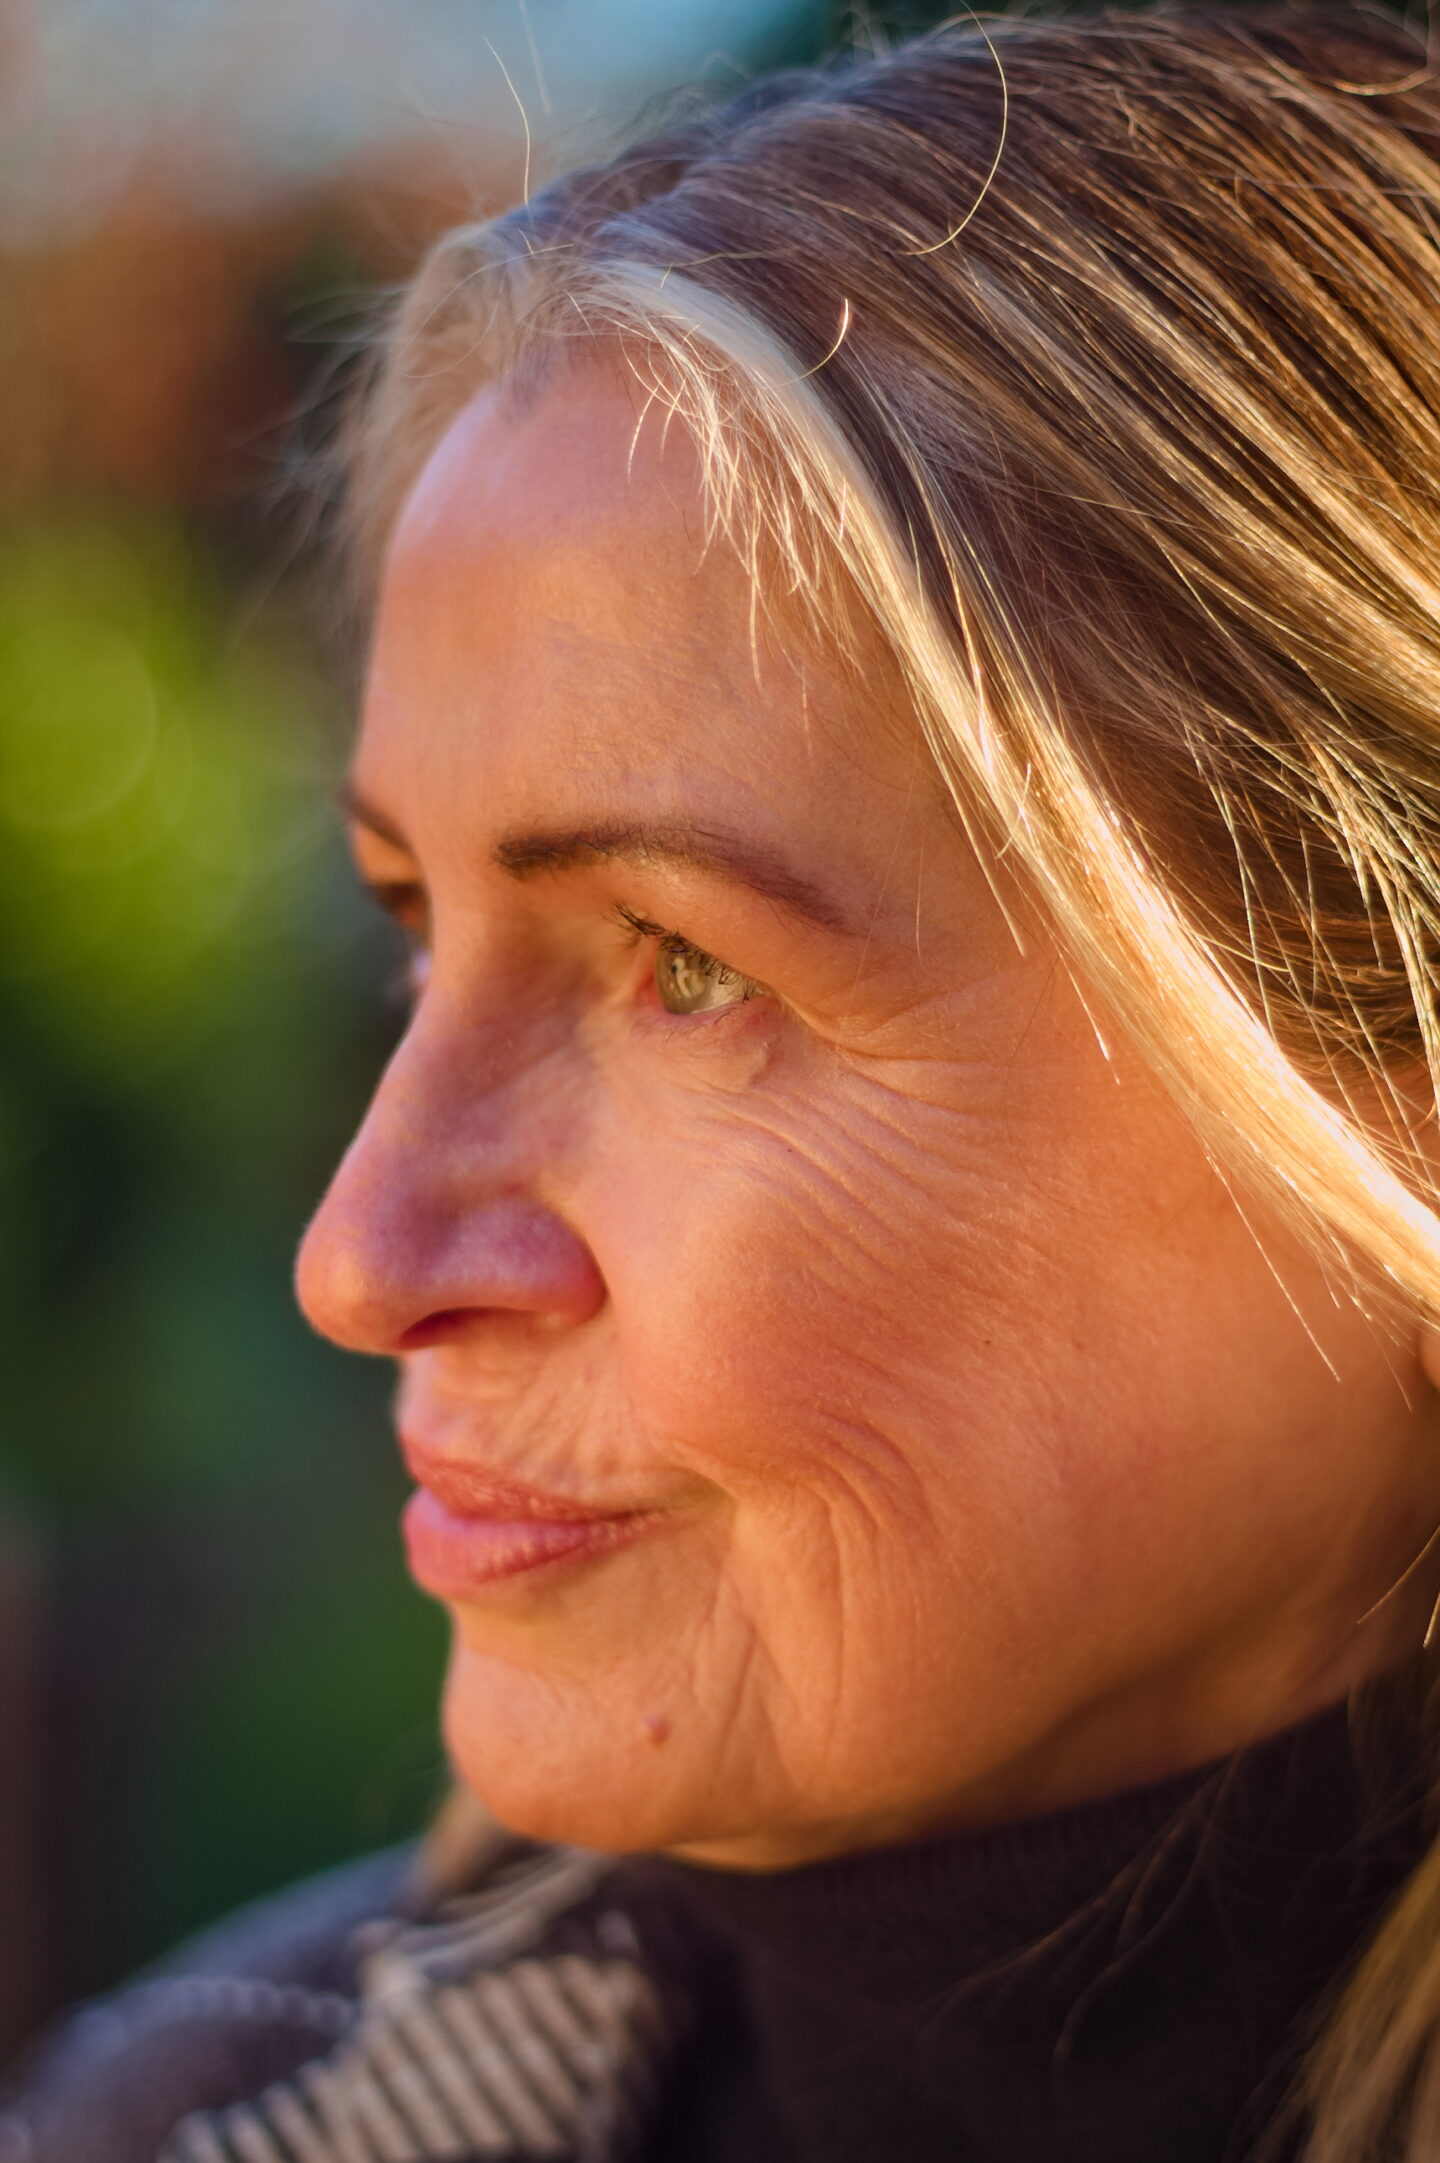
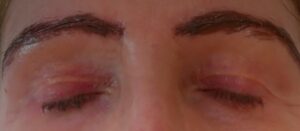
After
I have been satisfied with that apart from it doesn’t do anything extra. So, like most people, I am always on the lookout for a mascara that will give me long, luscious lashes and extra volume, in a natural way – the Holy Grail, if you like.
 Some of the mascaras I’ve tried, in the past, end up on my lids and end up in a clumpy mess by the end of the day/evening. Then, there are the waterproof mascaras which are impossible to remove, I find. So, while shopping in Aldi, I came across their “Lacura Larger Than Life Mascara”. I have read reviews on how good their mascaras are, so I was eager to give this a try, and at £5.99, I was prepared to take the risk.
Here is what I thought of this mascara after wearing it a few times:
This mascara has a thick consistency so I only needed one coating. I found the wand to be overloaded, so I found myself removing the excess, which wasn’t ideal. It did take a few minutes to dry. But I didn’t find any flakiness, once dry. I found the handle design to be a little too chunky, too, making it slightly tricky to manoeuvre when applying.
Would I buy again? No, I don’t think so, due to the fact I found the consistency to be a little bit too thick for me. I’m looking for a more natural look. So, the hunt for the Holy Grail will continue.


Thanks for this detailed step-by-step tutorial! Love your dress!
xoxo
Lovely
http://www.mynameislovely.com
Author
Thank you, Lovely much appreciated and pleased you found it helpful. Enjoy the rest of your week.x
Alison, this was really interesting! I honestly have never considered tinting my eyebrows. I didn’t even really know that was a thing! But with all the white hairs that are popping up with greater and greater frequency in my eyebrows, I am really liking this idea! For now, I have been using a gel and shadow set to fill in my brows. Thanks for sharing this alternative and linking with me.
Shelbee
http://www.shelbeeontheedge.com
Author
So pleased you have enjoyed my post, Shelbee. It is the easiest thing to do and saves so much on expense. Be very careful to do a patch test though as this area is so sensitive. Enjoy the rest of your week. xx
I don’t know if this brand, Ellison’s, is available in the US. One that is, and that I’ve used for a few years, is Godefroy Instant Eyebrow Tint (3 applications in kit). I like making my blonde brows a little darker with the Godefroy light brown. No lash tinting for me, though; my eyes are too sensitive for that. Too sensitive for many brands of mascara, too, even the very expensive ones; one that works for me is Almay. I love your detailed directions and photos, Alison, as well as the detailed review of the mascara. Very helpful. #TrafficJamWeekend
Author
Thank you so much, Jean. I’m so pleased you found my tutorial helpful. I totally agree with you regarding being careful using
products around our eye area, as it is so sensitive. It did take me a good while to find this tint, it is very gentle
and works for me, and the colour, after a few days seems to fade to a lovely brown colour (should have mentioned this in my post).
Have a great weekend! xx
So interesting! I’ve never tried to tint my own brows, so I found this post really informative! Thanks for sharing!
Author
Thank you, Laura. I’m so pleased you found this tutorial helpful, it does save a lot of money being able to do it yourself. xx
Try separating cotton pads after cutting into a moon shape and then put over the Vaseline Alison. This will stay in place and the tint won’t get diluted in any way on those bottom lashes. I used to add it on the lid too for clients but that would be difficult to do on your own! xx
Author
Thank you for this top tip, Laurie. The petroleum jelly does a great job and I did try using cotton
pads when I started to dye my own brows/lashes, the problem I found is I move around while waiting
for the dye to take hold and the pads usually dropped off, so I stopped using them, maybe I hadn’t
put enough petroleum jelly on so I’ll give it another go. xx